- Credits to nixintel.info
Description
FFmpeg is a simple but very powerful tool that allows you to extract every single frame from a video and turn it into a still image in PNG or JPG format. It also allows you to grab the audio track from a video file so that you can listen to and analyse it separately. No more pausing/un-pausing to find the detail that you want!
Installation
sudo apt install ffmpegUsage
FFMPEG runs completely in the command line. The commands you enter take the following format:
ffmpeg <global options> <input file options> -i <input file> <output file options> <output file>.Don’t worry if this seems a little daunting. FFMPEG can do all kinds of useful tasks; converting video formats, resizing video, adding audio, removing audio, adding subtitles, splitting and merging video, and many other things – but I’m not going to cover them all in this guide.
It’s also important to remember that like most other command line tools, FFMPEG assumes that you are in already the folder where your target video file is. You can either specify the path to the file after the -i flag, or use cd to move to the directory that you want to be in.
1) Grabbing Frames From A Video
This is a really useful technique for investigating and analysing videos. Capturing stills from a video allows the use of reverse image techniques, as well as allowing a frame-by-frame assessment of a video to be conducted. It’s much more effective than trying to pause a video at the right point and hoping that you can find what you’re looking for. To grab all the frames from a video, use the following command:
ffmpeg -i myvideo.mp4 img%06d.png -hide_banner
This is what each part of the command does:
- ffmpeg – tells the computer to run ffmpeg
- -i tells ffmpeg what the name of the input file is i.e. the video you are going to work on.
- myvideo.mp4 – the video file
- img%06d.png – the naming protocol for the still images. This syntax means each frame will beging with the tag img. %06d means that img will be followed by six digits. So the first still will be img000001.png, then img000002.png, etc. %04d would be just four digits, and so on. .png tells ffmpeg the format that you’d like the stills to be in. If you’d prefer jpeg, use .jpg.
- -hide_banner – suppresses a lot of unnecessary text output when you run the comman
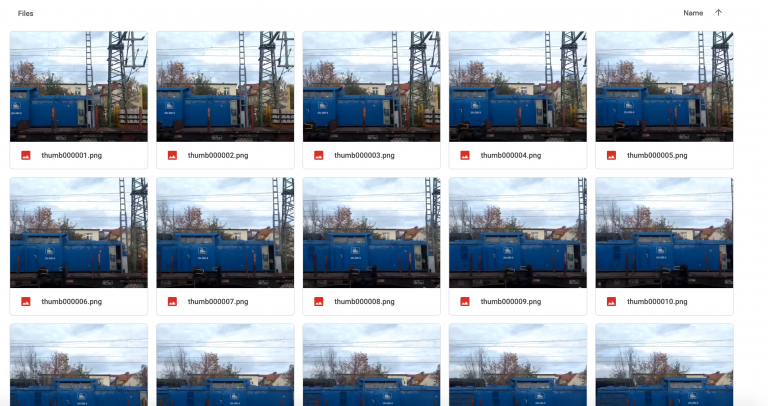
When you run this command, you’ll find that once it’s finished running you’ll have a nice collection of numbered PNG files, one for every frame in the video. This is fine for short videos, but you can quickly end up with thousands of near-identical frames that you don’t want. For example when I used this technique to grab stills from this video, I ended up with over 400 stills, even though the original footage was only 14 seconds long!

FFMPEG allows you to specify how many frames per second you want to capture. By default it captures 25 frames per second, but it is possible to use the -r tag to specify how many frames per second should be captured:
ffmpeg -i myvideo.mp4 -r 1 img%06d.png -hide_bannerSo in this example the value of -r is 1. This means that only one frame will be captured for every second of video. This is far more manageable for files that are more than a few seconds long.
2) Grabbing Audio From A Video
FFMPEG will also allow you to rip the soundtrack from a video so you can work on it separately from the video itself. The syntax is as follows:
ffmpeg -i myvideo.mp4 -vn soundtrack.mp3This command tells ffmpeg to take the input file myvideo.mp4, ignore all the video content (-vn), and then output the sound to a new file called soundtrack.mp3. This would leave you with both the original video file and a separate mp3 file just containing the sound.
Putting It All Together With YouTube-DL
I made use of this technique to solve last Friday’s video Quiztime challenge. I used YouTube-dl to grab the video, and then FFMPEG to turn all the frames into image files and rip the audio so I could listen to it separately. YouTube-dl is my favourite internet video grabber and it works really well with Twitter content. If you haven’t used it before, I recommend having a read through this guide I wrote a few months back.
This is how I used both tools together to turn Philipp Dudek’s 14 second video into something that was easier to work with:
- Grab the video with YouTube-DL, save it as train_footage.mp4
$ youtube-dl https://twitter.com/dondude/status/1187776360544120832 train_footage.mp4- Grab every frame of the video and save them as PNG files:
$ ffmpeg -i train_footage.mp4 img%06d.png -hide_banner- Rip the audio from the video and save as a separate mp3 called train_audio:
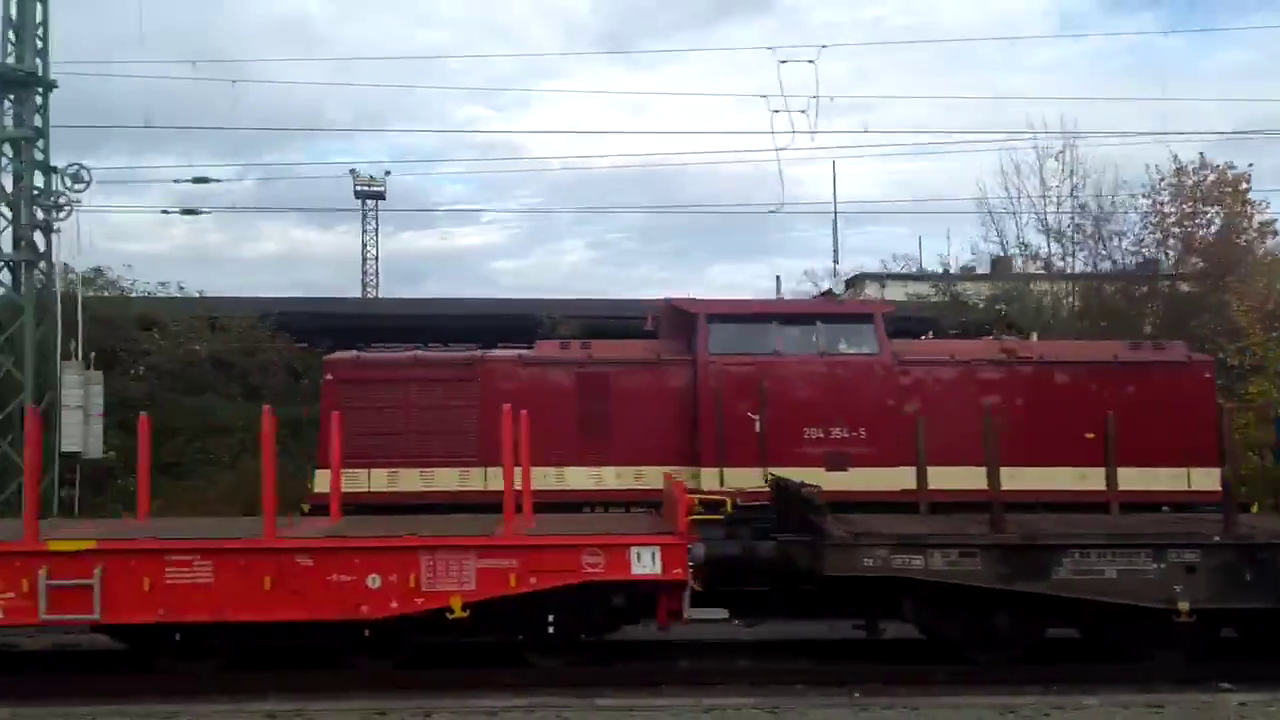
$ ffmpeg -i train_footage.mp4 -vn train_audio.mp3As it turned out, the audio was not very helpful to dolve this particular quiz, but from one of the video frames I spotted a detail that I had missed in the original footage:

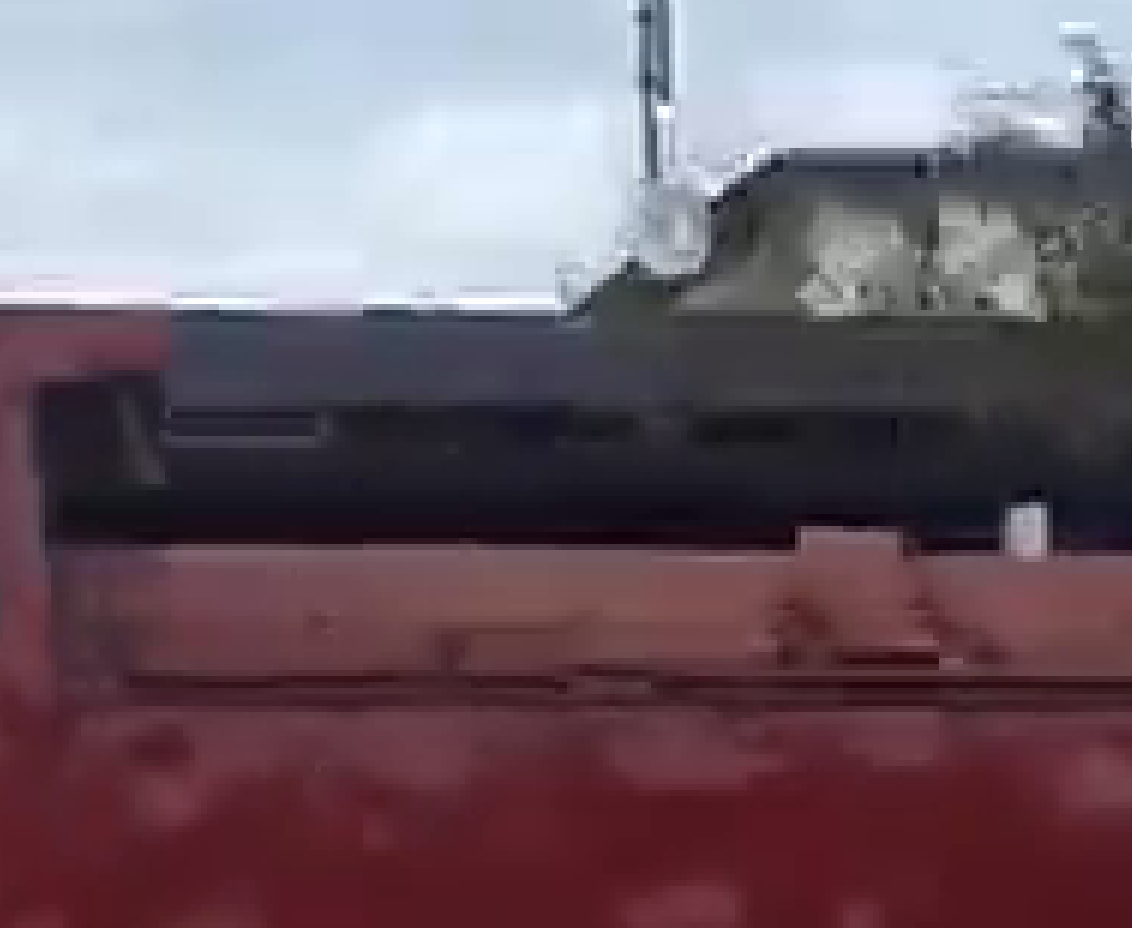
When looking at the still image above, the satellite dish on the rear of the building becomes clear:

Since satellite dishes usually point towards the Equator, it is possible to work out the orientation of the photo. The dish is facing south and towards the camera, so Philipp must therefore be facing north. This means the train is heading west and so the track and the station the train has just left must be on an east-west orientation. Together with some other details it was possible to use this information to narrow down the location. Blogging time is tight this week, so have a read through this Twitter thread to see how it was possible to use the detail from the video frame capture to help find the correct location.
For a more detailed guide to FFMPEG, have a look here and here.
