This task will take you through setting up GoPhish, sending a phishing campaign and capturing user credentials from a spoof website.
Firstly launch the virtual machine by clicking the green Start Machine button on the right; once loaded, click the following URL to open the GoPhish login page https://LAB_WEB_URL.p.thmlabs.com:8443 or if you’re connected to the TryHackMe VPN, you can to go https://MACHINE_IP (if you receive an Nginx error, wait another 30 seconds and try again).
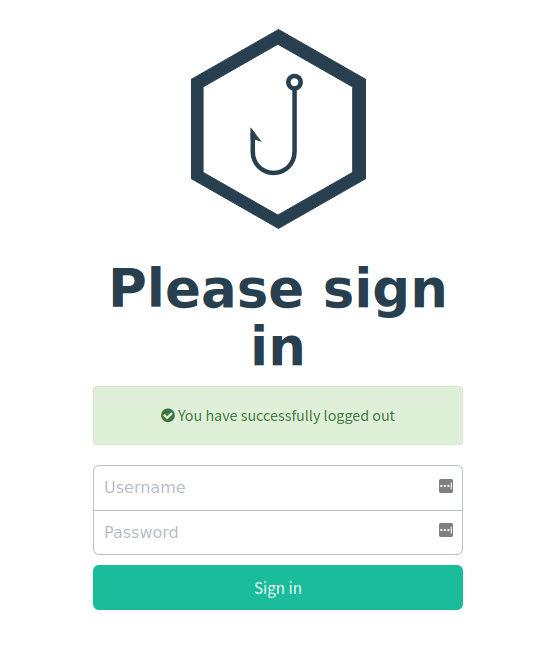
You should be able to log in with the username: admin and password: tryhackme
Sending Profiles:
Sending profiles are the connection details required to actually send your Phishing emails; this is just simply an SMTP server that you have access to. Click the Sending Profiles link on the left-hand menu and then click the “New Profile” button.
Next, add in the following information as per the screenshot below:
Name: Local Server
From: noreply@redteam.thm
Host: 127.0.0.1:25
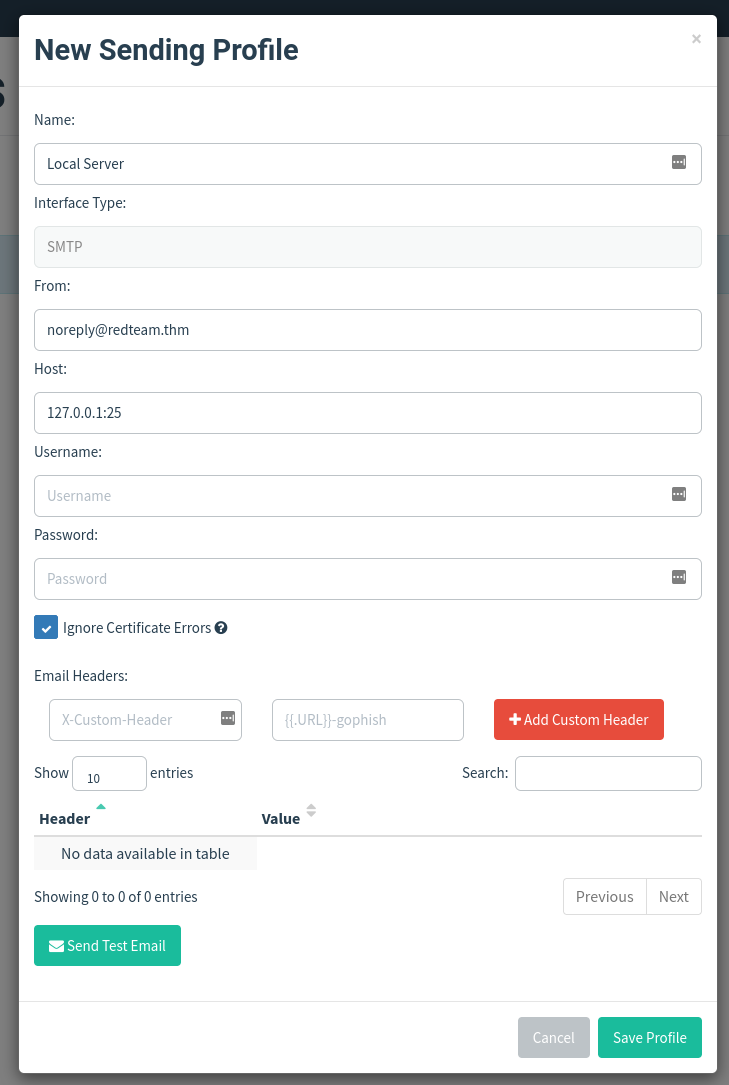
Then click Save Profile.
Landing Pages:
Next, we’re going to set up the landing page; this is the website that the Phishing email is going to direct the victim to; this page is usually a spoof of a website the victim is familiar with.
Click the Landing Pages link on the left-hand menu and then click the “New Page” button.
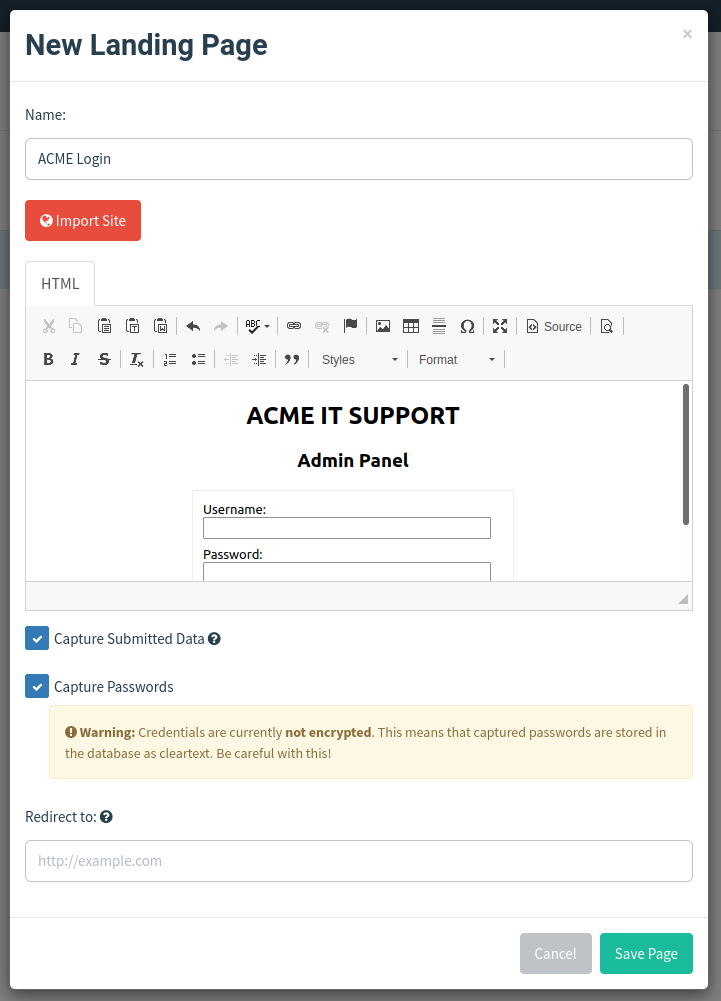
Give the Landing Page the name ACME Login, next in the HTML box; you’ll need to press the Source button to allow us to enter the HTML code as shown below:
ACME IT SUPPORT
Admin Panel
Click the Source button again, and you should see a login box with username and password fields as per the image below, also click the Capture Submitted Data box and then also the Capture Passwords box and then click the Save Page button.
Email Templates:
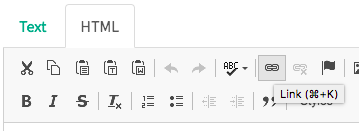
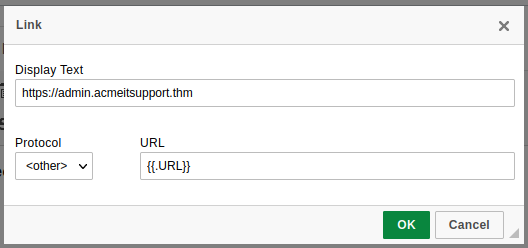
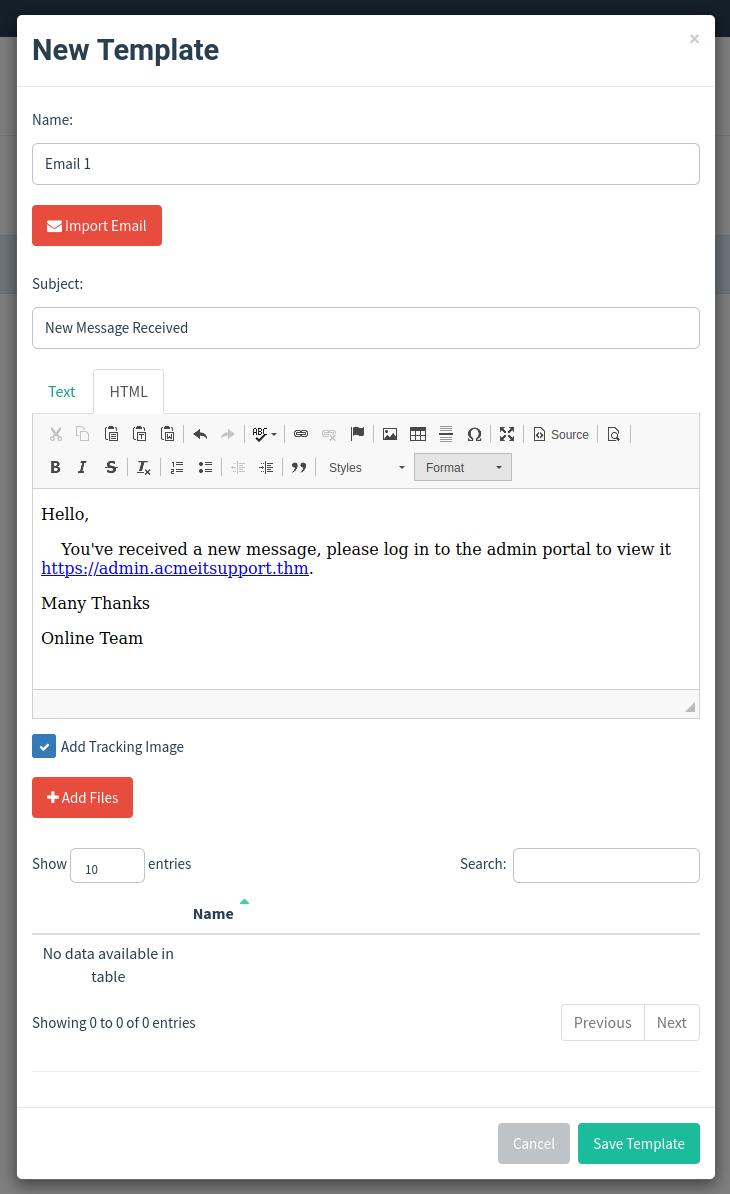
This is the design and content of the email you’re going to actually send to the victim; it will need to be persuasive and contain a link to your landing page to enable us to capture the victim’s username and password. Click the Email Templates link on the left-hand menu and then click the New Template button. Give the template the name Email 1, the subject New Message Received, click the HTML tab, and then the Source button to enable HTML editor mode. In the contents write a persuasive email that would convince the user to click the link, the link text will need to be set to https://admin.acmeitsupport.thm, but the actual link will need to be set to {{.URL}} which will get changed to our spoofed landing page when the email gets sent, you can do this by highlighting the link text and then clicking the link button on the top row of icons, make sure to set the protocol dropdown to <other>.
Your email should look similar to the screenshot below. Click Save Template once complete.
Users & Groups
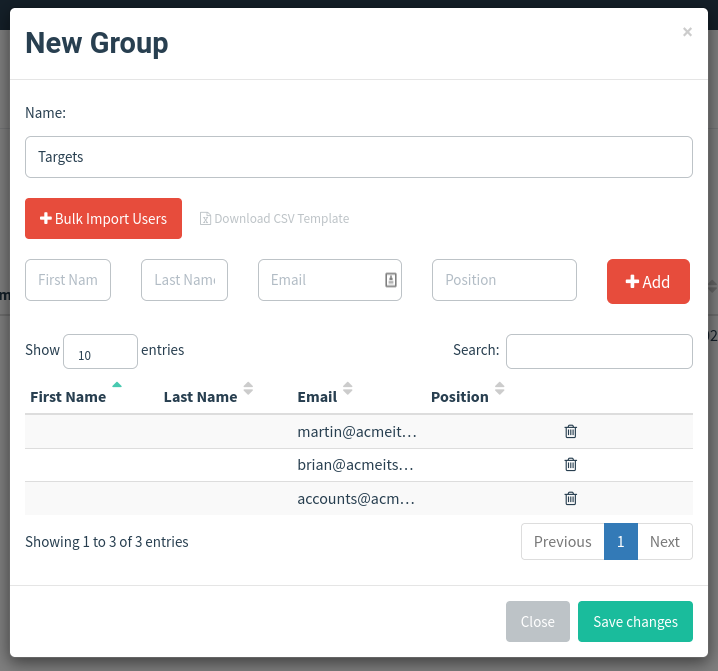
This is where we can store the email addresses of our intended targets. Click the Users & Groups link on the left-hand menu and then click the New Group button. Give the group the name Targets and then add the following email addresses:
martin@acmeitsupport.thm
brian@acmeitsupport.thm
accounts@acmeitsupport.thm
Click the Save Template button; once completed, it should look like the below screenshot:
Campaigns
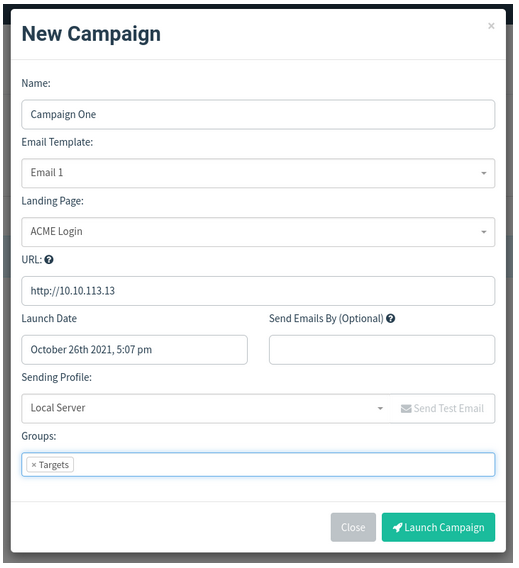
Now it’s time to send your first emails; click the Campaigns link on the left-hand menu and then click the New Campaign button. Set the following values for the inputs, as per the screenshot below:
Name: Campaign One
Email Template: Email 1
Landing Page: ACME Login
URL: http://MACHINE_IP
Launch Date: For this lab set it to 2 days ago just to make sure there is no complication with different timezones, in a real operation this would be set correctly.
Sending Profile: Local Server
Groups: Targets
Once completed, click the Launch Campaign button, which will produce an Are You Sure prompt where you can just press the Launch button.
You’ll then be redirected to the results page of the campaign.
Results
The results page gives us an idea of how the phishing campaign is performing by letting us know how many emails have been delivered, opened, clicked and how many users have submitted data to our spoof website.
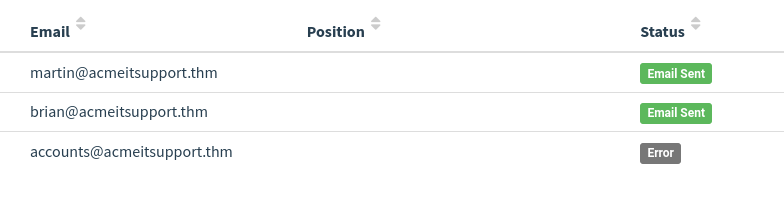
You’ll see at the bottom of the screen a breakdown for each email address; you’ll notice that both Martin’s and Brian’s email has been sent successfully, but the account’s email has resulted in an error.
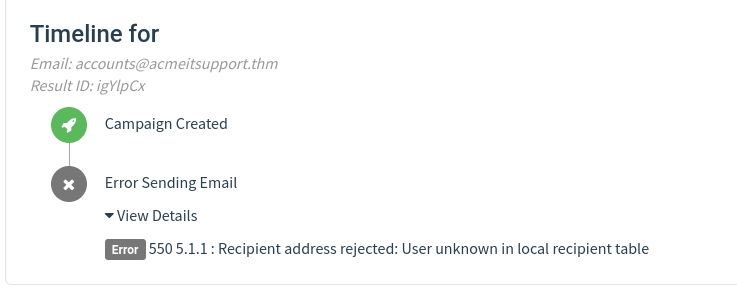
We can dig in the error more by clicking the dropdown arrow next to the account’s row, and by viewing the details or the error, we can see an error message saying the user is unknown.
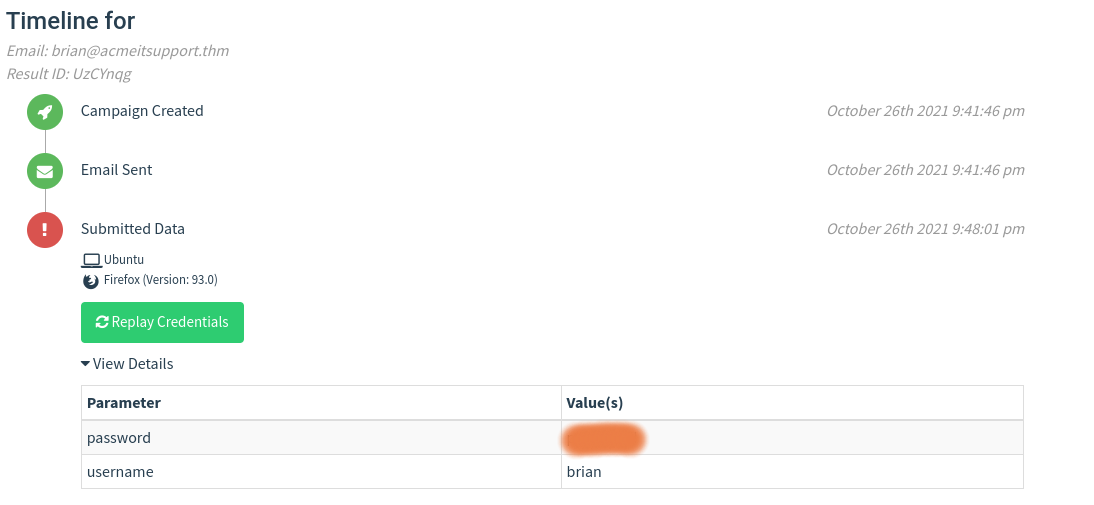
After a minute and providing you’ve followed the instructions correctly, you should see the status of brian change to Submitted Data.
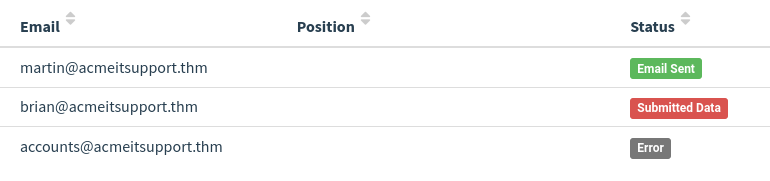
Expanding Brian’s details and then viewing the details for the submitted data, you should be able to see Brian’s username and password, which will help you answer the question below.